
[email protected]
Based in Dhaka, BD
© 2024 Md Rashed. All Rights Reserved
Hire Me!Introduce
Hi from Rashed, WordPress Developer
I’m a Freelancer. I’m Passionate about real and honest business conversations.
13+
Years of
Experience
423+
projects completed on
15 countries
my skills
My Advantages

96%
WordPress

85%
Laravel/PHP

95%
HTML

92%
CSS

80%
JavaScript
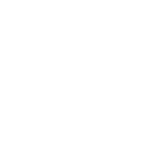
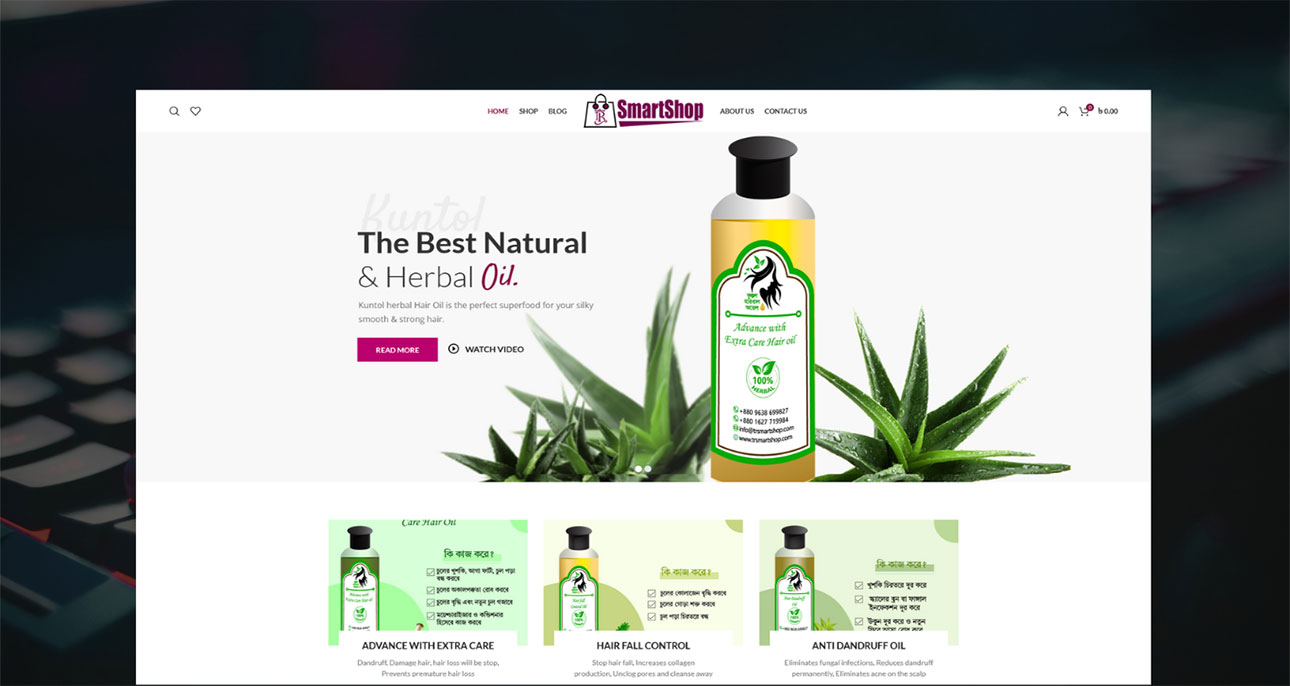
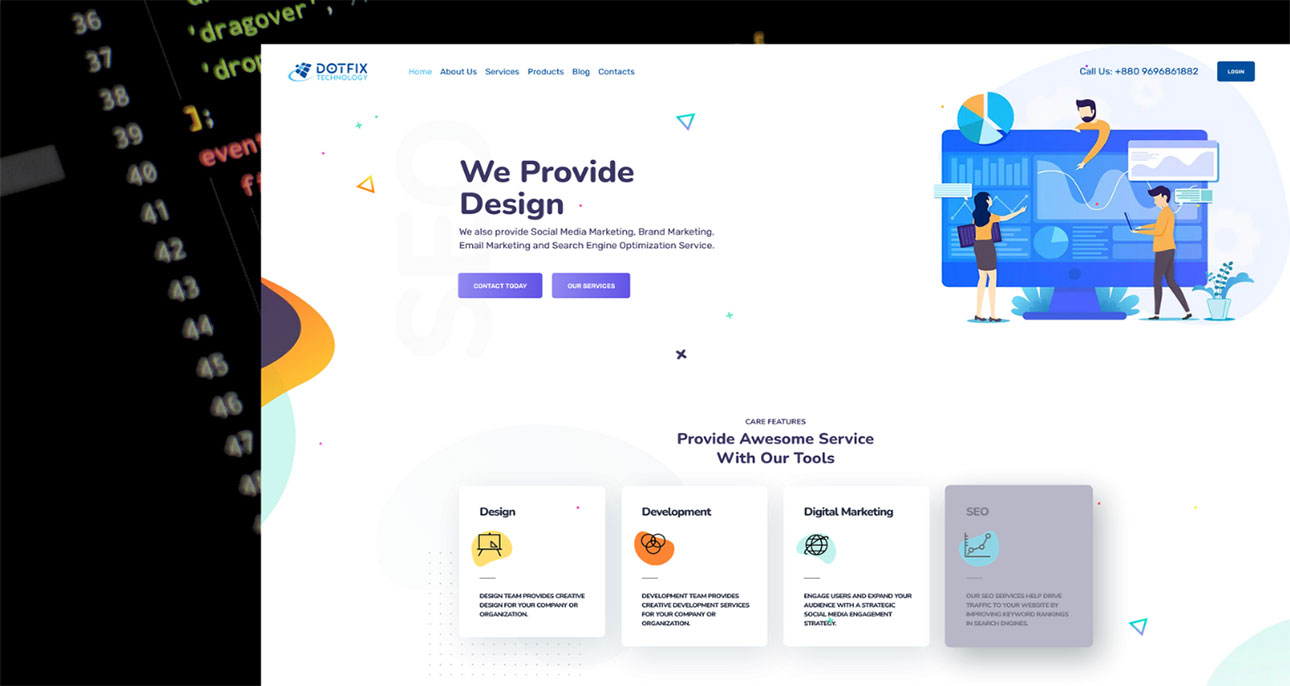
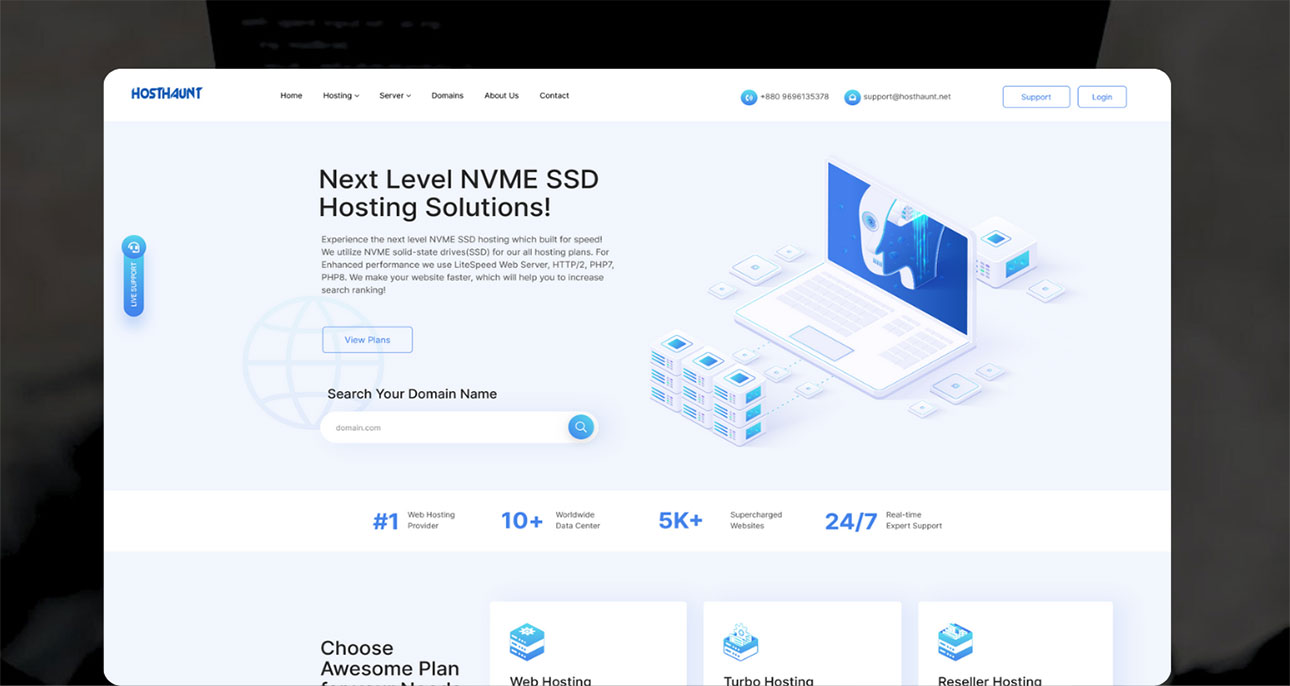
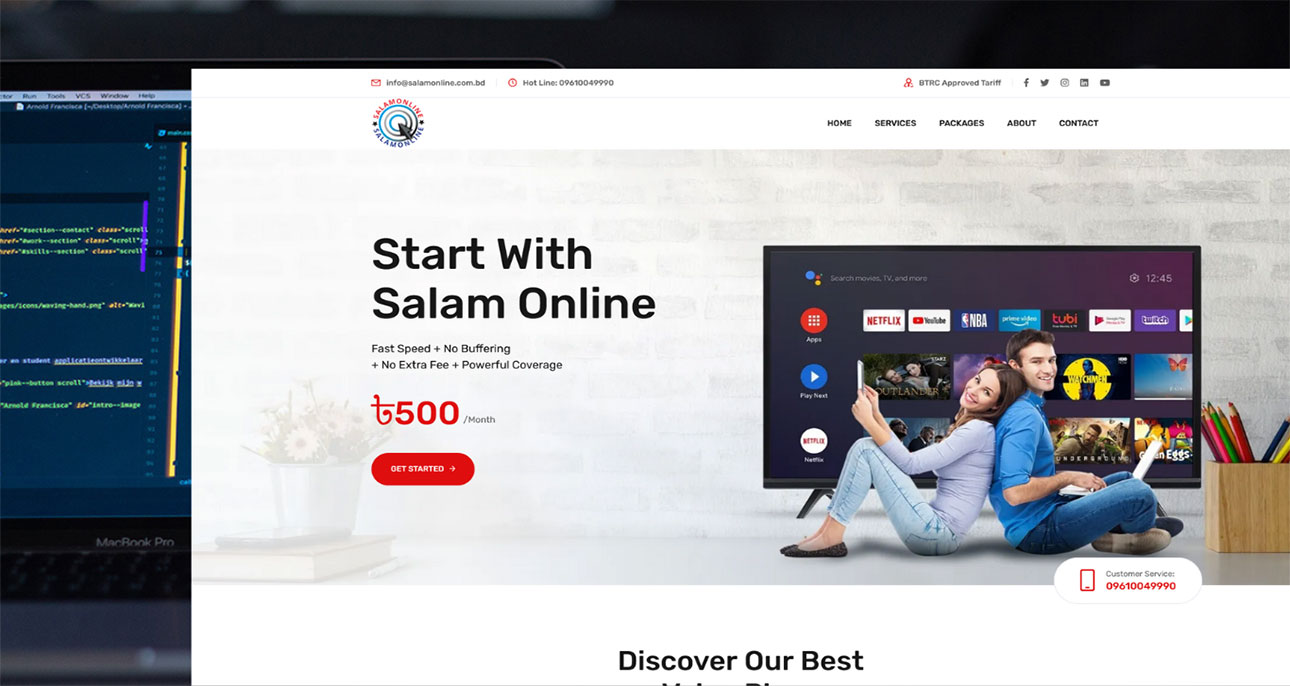
portfolio
Featured Projects
testimonial
Trusted by Hundered up Clients

Phil Foden
Client
Very good Web Developer and designer !!. Everyone should hire him for Website development!
Custom WordPress Development
Christina Morillo
Client
Rashed is an excellent skilled craftsman, we will continue to work with him, he is very good.
WordPress Development

Robert Bailes
Freelance
Rashed is a good man and I highly recommend him to anyone. In fact, we are now going to turn over our monthly website maintenance over to Rashed.
WordPress Development
Natoli Workneh
Freelance
Very well done. Professional and hard working. He also fixed a problem at no additional cost which was much appreciated.
WebSite Speed Optimization
work with 260+ brands worldwide